Monday, May 2, 2011

Key Lime Mousse

I have no words for this dessert. My mouth is too full of mousse right now to speak.


Key Lime Pie is one of my favorite desserts. I'm not sure where I decided it was full of awesome, but I'm sure as hell glad I did. It's so tart, yet really sweet, and I completely.love.it. There's also key lime meltaways I've made and loved, key lime cheesecake from Cheesecake Factory, and key lime ice cream made by Ben & Jerry's that Adam found for me last summer and surprised me with. Key lime and me, it's pretty much my secret favorite guilty pleasure.

A few weeks ago, I was asked to help with Passover Seder. Not ever having attended a Seder before, and really not knowing what I had to do to prepare the food, I was (understandably) a little intimidated-I wanted to make sure I was following the rules! As it turns out, Key Lime Mousse was pretty easily kosher-eggs, cream, key limes, sugar. Completely stupendous.

Mousse, in general, isn't terribly difficult. But it does have a lot of steps. Zest the fruit. Make the custard. Strain the custard. Cool the custard. Whip the cream. Fold together. Refrigerate. Y'see? Step after step after step.


It is so worth it, though. It's Key lime pie, without the crust (though I imagine some graham cracker crumbles over the top would add some nice crunch). It is unbelievable. If I had more key limes, I'd make it tonight.


Key Lime Mousse (recipe from Epicurious)

*I doubled this recipe to feed 13-the original says it will feed 4. While I'm not certain that all had a lot of the mousse, we did come home with some leftover. I highly recommend leftovers.)

1/2 tbsp grated Key lime zest
1/2 c. fresh Key lime juice
1/2 c. sugar
Pinch of salt
3 large eggs
3/4 stick unsalted butter, cut into small pieces
2/3 c. chilled heavy cream


Whisk together zest, juice, sugar, salt, and eggs in a medium-sized pot. Add butter and cook over medium-low heat, whisking frequently, until thick enough to hold the marks of whisk, about 5 minutes or so. Gently force the mixture through a fine-mesh sieve into a bowl before the eggs scramble, then quick-chill in an ice bath, stirring occasionally, about 5 minutes.
Beat cream with an electric mixer until it holds stiff peaks, then fold into custard gently but thoroughly. Refrigerate at least 2 hours.

Philly-Style pretzels

Let's talk pretzels.

But first, I have a confession: I didn't want to post this recipe. I didn't want anyone to know where it came from, and for that matter, know how easy they actually are to make, but these were too much of a hit to not share. So, here it goes:

I got this recipe from Bobby Flay. From a Throwdown episode, no less.

This past December, I went to Philadelphia to celebrate Christmas with Adam's family. We had a lovely time, playing games, playing with the dogs (and having an unfortunate incident in which they found my Christmas candy, but that's another story for another time. Bottom line, they're none worse for the wear!) and keeping warm and dry from the blizzard going on outside. Before the snow hit though, I got my first taste of Philly pretzel.

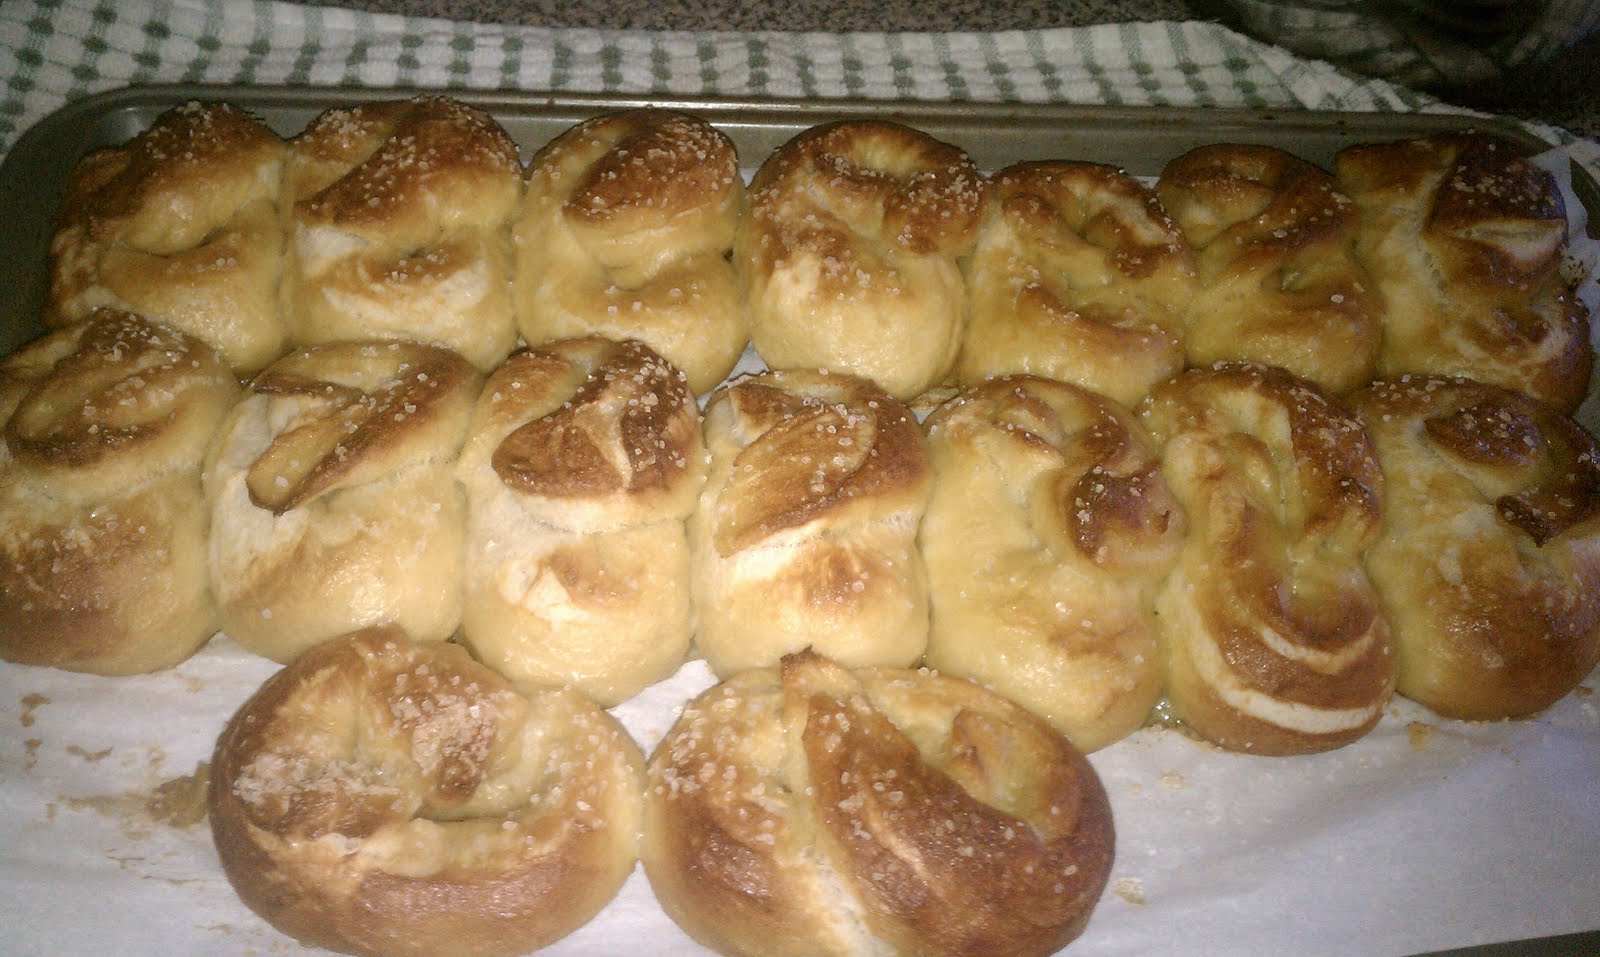
It was the kind of pretzel that was chewy all throughout with a little bit of crunch (but only a little!). The Philly-style pretzel got rave reviews from friends (one even admitted that she would get a hot pretzel every morning before school when she lived there). I will go so far as to say that Philadelphia has the best pretzels I have ever eaten.

Fast forward to about a month later, when we were watching Throwdown one evening on the Food Network. We were trying to figure out what to serve for the upcoming superbowl party we were hosting, and it hit us like a ball in the face: we should make pretzels! I was a little wary: I hate making dough. Really, it's true. On the other hand, there was no way we'd get fresh pretzels from Philly that wouldn't taste stale by the time they arrived in Boston. So I thought of an idea that I wish I had thought of a long time ago.


I used my bread maker.


And made, quite possibly, the best pretzels this side of Philly.


It really wasn't that hard: combine the wet ingredients in the bottom of the pan, put the dry ingredients on top, make a well for the yeast, and start the machine. Voila! Dough!

I made these pretzels again this weekend for Adam's birthday dinner with friends. I made the dough, let it rise, formed the pretzels, and boiled and baked them. So. Good. I had Adam taste test one fresh from the oven, and then made him wait until people began arriving last night before he could have another. I had to do it myself. No lie, between the two of us we would have eaten the entire batch. And the next one I made. So to our friends, I say, that was a great exercise in self-restraint for the both of us.

I got to eat the last one today, and I'll be honest, I'm very sad they're gone. I guess that means I'll have to make more.

Soft Pretzels (recipe courtesy of Bobby Flay and the Food Network)

1 1/2 c. warm water
2 tbsp. light brown sugar
1 package active dry yeast (I've used the jarred yeast too, and it just doesn't work as well. Learn from my mistakes, use the packaged yeast. If you must, though, 2 1/4 tsp of yeast from a jar equals one package)
3 Tbsp unsalted butter, melted
2 1/2 tsp. salt
4 3/4 c. all-purpose flour

Combine the water, sugar, yeast, and butter in the bowl of a stand mixer and mix with the dough hook until combined. Let sit for 5 minutes.

Add the salt and flour and mix on low speed until combined. Increase the speed to medium and continue kneading until the dough is smooth and begins to pull away from the side of the bowl, about 3 to 4 minutes. If the dough appears too wet, add additional flour, 1 tablespoon at a time. Remove the dough from the bowl, place on a flat surface and knead into a ball with your hands.

**If you choose to go the bread-maker route, try this method: Combine the wet ingredients (water, butter) in the bottom of the bread machine pan. Then add the flour, sugar, and salt on top. DO NOT MIX TOGETHER. Make a small well in the flour, then put the yeast in. Set your bread machine maker to the dough setting. Then follow the rest of the directions below.

Oil a bowl with vegetable oil (I used olive oil), add the dough and turn to coat with the oil. Cover with a clean towel or plastic wrap and place in a warm spot until the dough doubles in size, about 1 hour. If you need to, the dough can also rise in the fridge overnight.

When you are ready to make the dough, Bring 3 quarts of water (12 cups) to a boil in a pot over high heat and add 3/4 c. baking soda.

Remove the dough from the bowl and place on a flat surface. Divide the dough into 8-16 equal pieces, depending on how big you'd like your pretzels. I did it in 16 pieces, and made pretzels that were about the size of my fist. Roll each piece into a long rope: make the rope into a "U" shape and then cross your hands over each other to pick up the ends, then fold down to the bottom of the "U". Boil the pretzels in the water solution for 30 seconds, splashing the tops with the warmed water using a spoon. Remove with a large flat slotted spatula or spoon. Place pretzels on a baking sheet, press together to make them bake into each other, brush the tops with the egg wash and season liberally with the salt. Place into a preheated 425 degree oven and bake for 15-18 minutes until golden brown.

These are awesome all on their own, straight from the oven, or dipped in some cheese sauce or honey mustard. Yes, please, and thank you.

Saturday, January 8, 2011

Pumpkin Gingerbread Bars


When I was in Dallas, there was a little place I loved to go to called Corner Bakery. It was perfect for breakfast or lunch, a little snack or some dessert. It was a place that never failed me. In the fall, they carried a mini bundt cake that had gingerbread and pumpkin-I think it was called a pumpkin spice bundt. Whatever it was, I have always thought about that particular cake, and tried to hunt down the recipe, but I never found it.

Several weeks ago, I was perusing recipe websites, as I am oft to do, and stumbled across this one from the Dallas Morning News (coincidence? I think not so much). THIS was the one I had been searching for. No, it wasn't Corner Bakery's recipe-but it was the closest one I had seen. Not only that, it looked superb. I kept it aside, thinking I might make it for holiday treats, but I never got to it until this weekend. Good thing, because had I made it for the holidays, it might have just never made it to anyone-I am pretty sure I would have eaten the pan by myself.


If it had been in a mini-bundt pan with some glaze over the top it would have been an exact replica. As it stands, a square with powdered sugar over the top will do just as well. These are things I can work on for next time.


I think the thing I liked most about this was how subtle these bars were. They weren't overly pumpkin-y, and not too gingerbread-y. They were very mild but still pretty sweet. I really thought it was great as a dessert-and hey, the recipe says that gingerbread is kind of good for you, so, bonus!

Pumpkin Gingerbread Bars (recipe obtained from The Dallas Morning News)

2 eggs
½ c. brown sugar
3/4 c. solid-pack pumpkin
2 Tbsp. molasses
1 tsp. vanilla extract
3/4 c. all-purpose flour
1 tsp. baking powder
1 tsp. ground cinnamon
1 tsp. ground ginger
1 Tbsp. powdered sugar

Preheat oven to 375 F. Butter a 9-inch square pan (I used an 8-inch-I think it worked even better. Next time I'm definitely trying mini bundts).

Beat the eggs with an electric mixer at high speed 2 minutes. Add the brown sugar 1 tablespoon at a time, mixing well after each addition.

Add the pumpkin, molasses and vanilla, and beat for several minutes using the mixer.

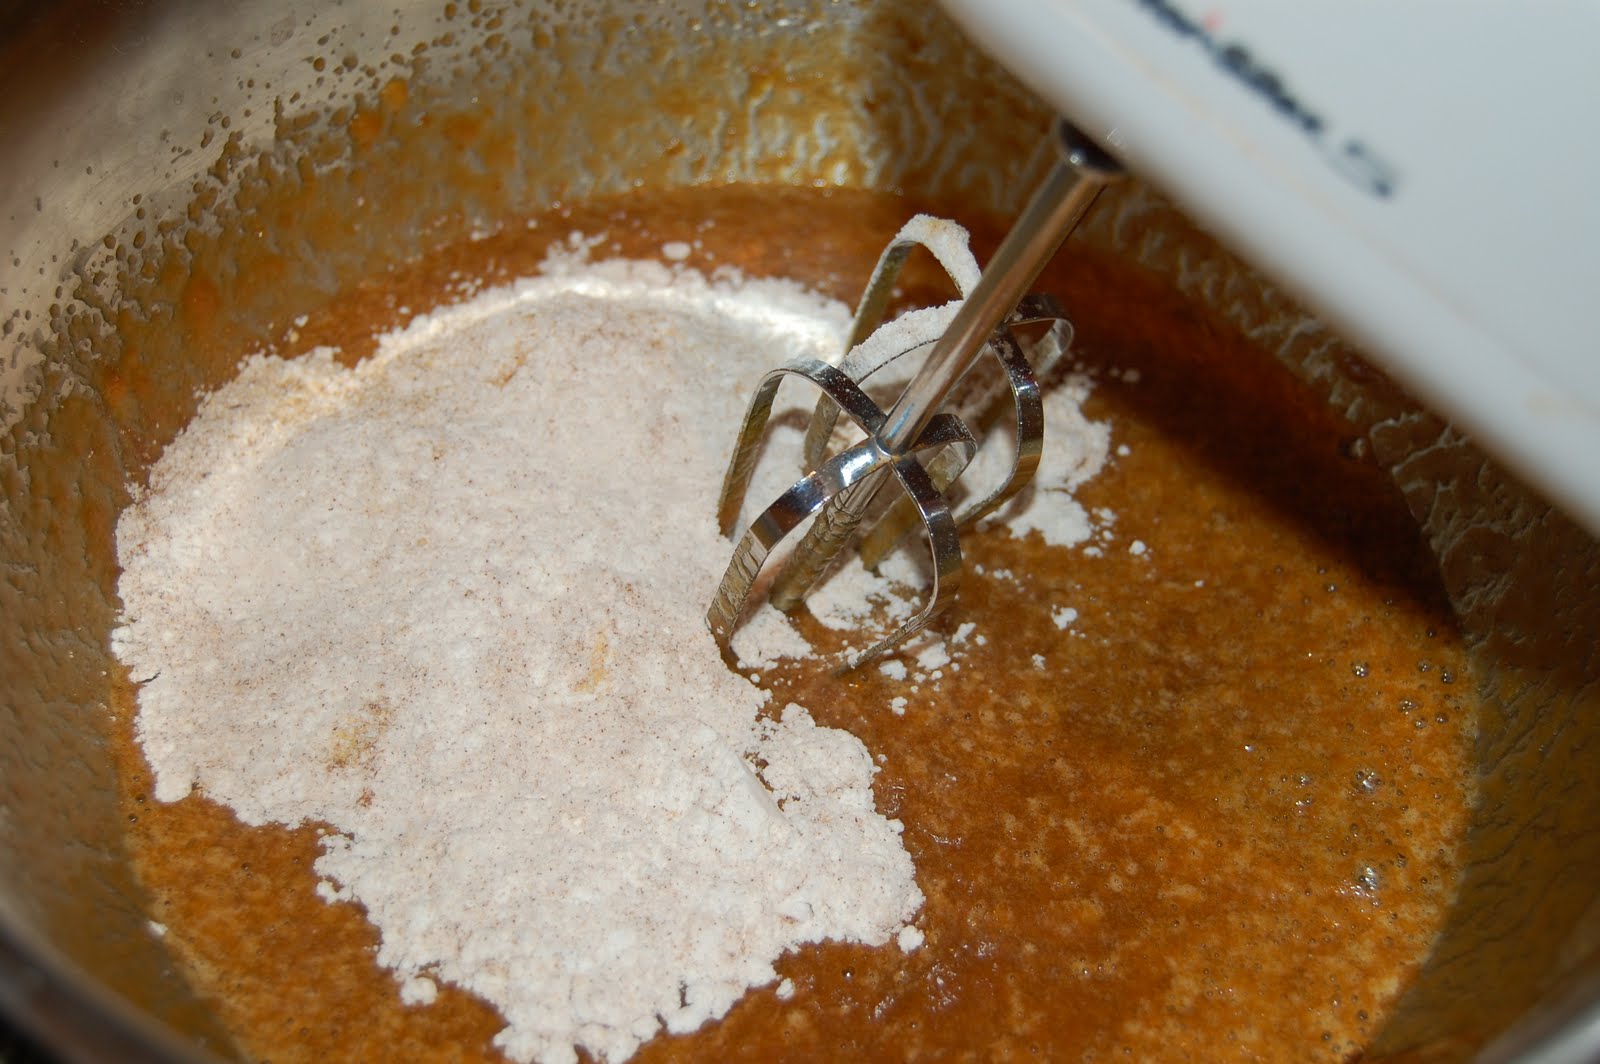
In a separate bowl, mix together the flour, baking powder, cinnamon and ginger. Add to the pumpkin mixture and stir well.

Pour the batter into the prepared pan. Bake approximately 20 minutes. Let cool 10 minutes in the pan, then turn out onto a platter. Sprinkle with powdered sugar and cut into bars. Watch them disappear into your own belly.

Sunday, January 2, 2011

Meyer Lemon Pancakes with Raspberry Syrup

What better way to start the new year than with something that reminds me of summer? I think there's no better way; with snow on the ground (albeit also at 50 degrees in January) the only thing I want to think about is warmth, sunshine, and summer. These pancakes accomplish that.


The weird thing is that I've made lemon pancakes before. When I made them, they were so tart that I spent more time with my mouth puckered than I did with a mouth full of pancake. I wanted to really like them but the best I could say was that they were just "okay". I'm still not totally certain I'd make that recipe again, but I will say they were really bright. Not just in color, but in taste. I'm still not so sure that real lemon pancakes were my favorite, but they weren't bad.

Yesterday, I saw this recipe on the food network for Meyer lemon pancakes. Every time I'd seen a recipe for Meyer lemons I just substituted regular lemons, thinking that there wasn't much of a difference.

For the record? Don't do that. Meyer lemons make SUCH a difference. I never knew! (I'd never even seen one until yesterday, either). I read up on them and found out they were more similar to an orange-they even look a little bit like them. Much more orange than yellow, much more circular than...well, whatever shape a lemon is...and much more subtle than a regular lemon.

Last night I threw together the batter (I totally recommend that by the way, if you're making a lazy breakfast), made the syrup (which I've made before and will touch on later) and this morning, clad in my new feety pajamas I got for Christmas (thanks to my brother in law for those!) I used my new pancake batter dispenser (thanks Christie!) and made a whole mess of Meyer lemon pancakes, which were then doused in fresh raspberry syrup.


These were so good that A and I both went back for seconds. I thought about going back for thirds until I remembered that the rest could work for breakfast tomorrow.


These had a very mild lemon flavor, and they were incredibly light. Although the batter isn't something that's that quick to do (whipping egg whites, what?), it's not hard-just has extra steps! It's worth it, in my opinion-having whipped egg whites in a pancake batter really changes the texture of the pancake. I loved them.

This pancake recipe came with a strawberry coulis recipe to go on top. I decided to scrap it and use a tried and true raspberry syrup that I loved (and, ironically, went with the earlier version of lemon pancakes that I wasn't the biggest fan of.). It's a pretty simple recipe-put frozen raspberries in a pot with some sugar and lime juice concentrate, and let it boil and thicken, then strain out the raspberries to get a nice smooth syrup.


As A so aptly declared: 'tis good. Yes, yes it is.


Meyer lemon pancakes (recipe from Anne Burrell and foodnetwork.com)
2 c. all-purpose flour
3/4 c. sugar
1/2 tsp. salt
1 heaping tsp. baking powder
4 eggs, separated
1 heaping c. ricotta cheese
3/4 c. milk
2 Meyer lemons, zested and juiced

Mix together the flour, sugar, salt, and baking powder in a large bowl. In another bowl, combine the egg yolks, ricotta, milk and lemon zest and juice, and mix well. Add the wet ingredients to the dry ingredients, and mix well.

In another bowl, beat the egg whites to stiff peaks using an electric mixer. Fold the egg whites into the rest of the batter. If you are making this for the next day, feel free to stop here and cover the bowl and refrigerate until the next morning. If not, continue forward.

Spray a griddle with nonstick spray or put a pat or two of butter down, and turn the heat to medium high. Test the readiness of the griddle by flicking a bit of water from your fingers; if it dances across the pan, it's hot enough. If it just sits there, wait! When the pan is ready, ladle the batter onto the griddle. Let it cook for about three minutes, or until bubbles pop through the batter. Once it bubbles, flip the pancake and cook for approximately three minutes or less on the other side. Drench pancakes in syrup and go to town. :)

Raspberry Syrup (recipe from Nantucket Recipes from the Fog Island Cafe, by Mark and Anne Dawson)

4 c. fresh or frozen raspberries
1/2 c. sugar
2 T. frozen lime juice concentrate

Combine all ingredients in a pot and cook over a low heat, stirring often. Let the sauce cook until the berries are soft and the sauce is thick. This could take up to 20 minutes, but has for me sometimes taken a half hour.

Take the pot off the heat and strain the sauce through a fine mesh strainer. Then refrigerate until you are ready to use it. This should get you roughly 1.5 cups of syrup.

Thursday, October 21, 2010

Eggplant Soup


As I write this, I'm curled up in my pjs, with a heating pad against my back, eating a bowl of soup. Don't be too jealous. Fall has arrived with a vengeance and my back is just aching, so I needed some comfort food and clothing.
I saw this soup recipe last week and was immediately excited. Eggplant's one of my favorite vegetables, and I love soup. I don't know why I didn't look for a soup like this one before.

As much as I was really wanting to make this soup, I was also very afraid of making it. Sometimes eggplant disappoints me. It has so much potential and I love it so, and sometimes it doesn't live up to the hype for me. I know, it's weird. I think it's just that I want it to be perfect every.single.time and sometimes it doesn't work. That scalloped eggplant I made a few months back? Just one example.

How glad I was that this time, my eggplant did not disappoint.

For starters, I mostly just waited for this soup to be done. No dicing of vegetables, just slice in half, roast, and then put together with some broth, cook some more in the pot, and blend the whole thing together. If I had the energt to do it, I might have tried to be productive while it was simmering and done some of the work I brought home with me today. Instead, I did some online Christmas shopping and watched Modern Family and The Middle on my DVR.


Okay, that's kind of productive. I cleaned out some of my DVR...

Anyway, I feel like I could have eaten the entire pot of this. There was all of the taste and virtually none of the work (I totally love those recipes). It was hot, filling, full of flavor and completely different from any kind of soup I'd had before (I totally love that combination). Best of all, it didn't even use up a lot of dishes (I've had a certain someone tell me that I definitely know how to use every pot, pan, and dish in the kitchen to make one dish. It's completely true and I won't lie-I will very often use everything I have and run the dishwasher several times over at the expense of one main course. A good main course, mind you, but still, only one!). I had two sheet pans, two knives, a pot, a ladle, and an immersion blender. By my standards, practically nothing. :)


Though I understand that a lot of people actually don't care for eggplant, I ask that you give this recipe a chance. If it still doesn't sit right with you, I'll give you a brownie from a batch I made on Tuesday night (although I'll admit-you can have one even if you do like it. I did!). The original recipe says to play with the spices, so I did, and I was not sorry. I added in pepper, thyme, and smoked paprika-a spice I think everyone should have in their spice cabinet. I got it based on comments I read from the very website where I found this soup recipe, and I swear I use smoked paprika with just about everything I eat nowadays. If that's not your thing, though, just look through what you have and add some of this or a pinch of that. Keep working on it and taste until you're happy with it!


Eggplant Soup (recipe obtained from The Smitten Kitchen)
3 medium tomatoes, halved (I went with four, because I had just a small one leftover, and you can't just not leave it out!)
1 large eggplant, halved lengthwise (I used 3 small to medium sized ones, as there were no large eggplants at the store)
1 yellow onion, halved
6 garlic cloves, peeled
2 tbsp. olive oil
1 tbsp. chopped fresh thyme or 1 tsp. dried
4 c. chicken broth
1/4 cup heavy cream (optional-I used half and half, as that was what I happened to have on hand)
3/4 cup (about 3 1/2 ounces) crumbled goat cheese (all I had was feta, so I used that instead)

Preheat oven to 400°F. Arrange tomatoes, eggplant, onion and garlic on baking sheets, and don't worry too much about overcrowding. Brush or drizzle vegetables with oil then roast them for 20 minutes. Remove the garlic cloves, set aside, and put the sheets back in the oven for another 25 minutes. Remove from oven and scoop eggplant from skin into a stockpot. Add the rest of the vegetables, the thyme and the chicken stock and bring to a boil, then bring down to a simmer. Cook until onion is very tender, roughly a half hour to 45 minutes later.

If you choose to puree the soup in the blender, try to let it cool down first-I've had the unfortunate experience of hot soup exploding in a cool blender. If you have a hand blender (otherwise known as an immersion blender), you can puree it in the pot while it's still hot (but be careful!). Either way, puree it as chunky or as smooth as you prefer. Season with salt and pepper. Ladle into bowls and sprinkle with either goat cheese or feta cheese.

Tuesday, October 12, 2010

Cider Donuts


Okay, kids. I promised.

Ah, cider donuts. Or, in this case, the ever so elusive cider donut.

Cider donuts remind me of college. About ten minutes down the road from us was this farmstand called Atkins. Oh, how we all loved Atkins. Sometimes our parents would send us care packages from there during finals. Sometimes we'd go there to wander. But always, always, we came out of there with an Atkins cider donut. This past fall, a friend of mine brought me a half dozen, which were promptly consumed (I actually don't think they made it past the next day, actually.). There's also Wilson Farm, a place I hold near and dear to my heart that also makes exceptional cider donuts, and sometimes on the weekend will actually set up a table and make fresh donuts to order-so for about a dollar or two you can eat a hot fresh donut. Heavenly.

For years I've wanted to make donuts. Seriously. Why I never tried before is beyond me-although I probably was worried about how much time it would take to make them. Up until about two years ago, I also didn't have a fryer. I know, I could have used a pot and a candy thermometer, but I never did. Ah well.


This weekend, I decided it was time to go forward and make the little buggers. I got myself some apple cider and set up the dough. I let it chill overnight and yesterday I got to work.

And that's when I realized why I had waited for so long. It is incredibly difficult to make an authentic looking donut. I tried with the first batch and the dough fried itself onto the bottom of my fry basket. The second go-around I just dropped them in the well and let them fry kind of like fritters. Cutting them was a whole other story-it was damn near impossible to get the dough to come out with my circle cutter, so much so that I just wound up dropping spoonfuls in. Some of them were slightly larger than I anticipated, making some donuts the size of my fist. An authentic looking donut these certainly weren't. I also made a mistake with one or two and pulled them out early and set them to dry on a paper-towel lined plate and found later that the inside was still raw, and oozed out. Sigh.


I did wind up with about eight donuts though, and am pleased to say that all hard work and oversized amounts aside, they were quite incredible. Much better hot and fresh, but still okay a day later (I just had one for dessert). With practice, I think these can get much better looking-but the taste is spot-on. Maybe not a Wilson's or an Atkins' cider donut, but pretty damn close.


Cider Donuts (recipe from The Phantom Gourmet)
4 c. flour
1 c. plus ½ c. sugar (separated)
2 tsp. plus 1 tsp ground cinnamon (separated)
2 tsp. baking powder
1 tsp. baking soda
½ tsp. salt
2 eggs
1 c. apple cider
¼ c. milk
2 tbsp. oil
1 tsp. vanilla
¼ c. (4 TB) butter, melted
Canola oil for frying


In a medium sized mixing bowl mix all of the dry ingredients together, save for ½ c. sugar and 1 tsp. cinnamon. In another bowl whisk the eggs, then add all of the remaining wet ingredients. Combine the wet and dry ingredients together and mix well to create a thick dough. Line a baking dish with parchment paper, and evenly spread the dough into the dish. Cover the pan and refrigerate overnight. Mix the remaining ½ cup sugar and 1 tsp cinnamon, and set aside for rolling the donuts after they are cooked.

When ready to cook the donuts, heat an inch or two of oil in a medium sized saucepan or a deep fryer to about 360F. Cut donuts using a knife or a circular cutter, or even scoop it using an ice cream scoop, and carefully place in the oil. Fry for about 90 seconds to 2 minutes per side or until golden brown. Drain on paper towels, roll in cinnamon sugar, and eat up!

Sunday, October 10, 2010

Pumpkin Chocolate Chip Cookies


It's fall. I love fall-related recipes. Bring on the pumpkins, apples, and cranberries!

This recipe has been a long time coming. A friend of mine from high school saw a picture of these a long while ago (last Christmas, I believe), and asked me for the recipe. I told her of course, it would be posted on the blog soon.

Does "soon" count if it's within a year? Then if so, I'm golden.

At any rate, this is one of my very favorite cookie recipes. It's really hard to screw up, for one. For two, it's great for fall, with all the pumpkin, and really makes me feel like curling up on the couch in front of the fireplace with a bunch of them and a hot cup of coffee. Thirdly, there's the perfect amount of chocolate all tied into a very neat little package. As it turns out, I felt the need to make them and bring them to work. I swear I never saw cookies disappear so quickly.


The weird thing about these are that they are so soft. Like Toll House Soft Baked soft (are those even carried anymore in stores or have they been discontinued?). They have a bread or cake-like consistency and the addition of chocolate chips sends them straight over the edge. I will go so far to say that I will always choose this over my beloved chocolate chip.


Okay, almost always. But the ease of this recipe combined with the sheer desire to inhale the entire batch in one sitting makes the pumpkin chocolate chip cookie incredibly difficult to resist. If you make them, set aside one or four for me, okay?


Pumpkin Chocolate Chip Cookies (recipe obtained from boston.com/food)

2 1/2 c. flour
1 tsp. baking soda
1 tsp. baking powder
1 tsp. ground cinnamon
1 tsp. ground nutmeg
1/2 tsp. salt
1/2 c. (1 stick) unsalted butter, at room temperature
1 1/2 c. sugar
1 c. canned pumpkin puree
1 egg
1 tsp vanilla extract
1 bag (12 ounces) semisweet chocolate chips or chunks
1/2 cup walnuts or pecans (optional-I never find I need them!)

Preheat the oven to 350 degrees. Mix together the flour, baking soda, baking powder, cinnamon, nutmeg, and salt in a bowl and set aside.

Cream the butter and sugar together using an electric mixer on medium speed until fluffy. Add the pumpkin, egg, and vanilla and beat just until blended. Then mix in the dry ingredients.

With a spoon or a spatula, stir in the chocolate chips or chunks and nuts, if using. Do not use the mixer to do this task (I promise. I almost broke my mixer once trying that stunt.)

Line baking sheets with parchment paper. Drop the batter by heaping tablespoons 1 inch apart on the baking sheets.

Bake the cookies for 13 to 15 minutes or until lightly browned. Let the cookies cool on the sheets for a few minutes before transferring to wire racks to cool completely.